How to Patch A Hole In Your Drywall
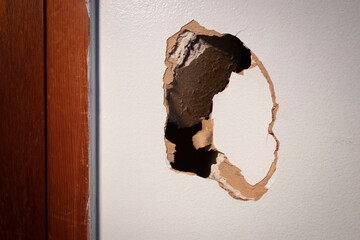
When you end up with a small hole to patch in your drywall, you can fix it yourself in a few simple steps. Here's how to fix your drywall:
Assess the Damage.
The first step is to properly assess the damage. Grab a tape measure, or a ruler to determine the thickness of your existing drywall. The most common thickness is ½”, but sometimes it will be 5/8th”. If you can see inside the hole, look for the closest stud on both sides of the hole, if they are not too far off then you can plan on cutting out drywall back to the stud, and about halfway over the top of it. This will provide backing and support for the new drywall. If the studs are too far away then you can prepare to secure your own backing.

Prepare the Hole.
After you have determined the thickness of the drywall and settled on your plan to patch your hole, it is time to prepare the hole. First you will need a drywall knife or saw, drywall screws, a drill, mesh tape, and possibly some wood for backing. If you don’t have a drill you can use drywall nails and a hammer. If you intend on using your own wood for backing you will want to attempt to square up your hole, to make the patch easier. The straighter the lines of your hole, and the more square it is, the easier it will be to fit a new piece of drywall in it. Make sure your backing will span the length of your hole. Take your backing and install it either vertically or horizontally, however is the most accessible for you. If doing the vertical install, you want to split the wood half exposed in the hole and half behind the existing drywall. Then, very tightly hold the backing to the drywall, and screw it in through the existing drywall. This will secure the backing to the drywall and provide a solid surface to install the patch. If you are cutting the drywall to the studs, you again want to cut it in such a way that splits the studs inside the wall with the existing drywall, to provide backing for the new piece.

Install the patch of drywall.
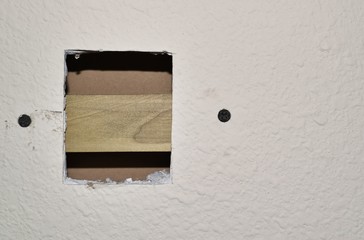
Now that you have a relatively uniform hole with backing that provides at least two points of contact, you can install the new patch. Measure your hole to get a good idea of how big to make the patch. Cut out your patch piece from the sheet of drywall, or if you are lucky enough to have a small patch you can buy just a square patch piece. Use your drywall tool (and or a razorblade as a last resort) to cut your patch out as best as you can to the shape and size of your hole. In my opinion, it is better to cut too large than too small, because you can always trim it down, but if your gap is too large it can be problematic. Then, hold the patch piece up to your backing, and install it with drywall screws directly into the backing. I recommend a minimum of two screws for each piece of backing, or two screws per foot. You want the screw to seat in the drywall just flush or slightly depressed into the drywall. If you screw too deep, it may cause the drywall to rupture and that can be difficult to cover up with mud.
Apply mesh tape.
Take your mesh tape and apply it across the gap from your patch to the existing drywall. This tape rips pretty easy, using a drywall trowel will work well in application. Lay it across, run the trowel down the length of it to stick it down, and then hold the trowel on the tape where you want to cut it; which should be just a few inches past the gap.

Mix and Apply Mud.
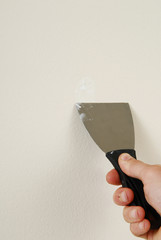
After you have the patch installed and taped up, it is now time to mix and apply drywall mud. Take your drywall pan and some dust, I recommend using 20 minute easy sand. It is tough to get the ratio right, and you may end up with more or less mud than you need but that’s okay because it is pretty easy to make more or throw away the excess. Once you have added a layer of dust to the pan it is time to add a little water and start mixing. You most likely will spill some here and there so it is recommended to do this part over a sink, outside, or just somewhere you don’t mind making a mess. You genuinely want the consistency to be that of mud, hence the name, drywall mud. Try and mix until there are no large clumps left and all the dust is thoroughly mixed in. Once it is nice and mixed it is time to apply. Grab your 6” trowel and scoop up a decent bit of mud. Apply it to the patch side and swipe over the mesh tape onto the existing drywall. Use different angles to apply varying thicknesses of mud, and coat the patch. There is something to be said about the technique needed to scoop, swipe, scrape, rinse and repeat. The thinner the mud applied, the less sanding needed. You want to cover all the screws you used, and attempt to blend the patch into the existing drywall with the mud. This may take more than one layer depending on a few variables but ultimately it comes down to how smooth you want it to look at the end.
Sand and Assess.
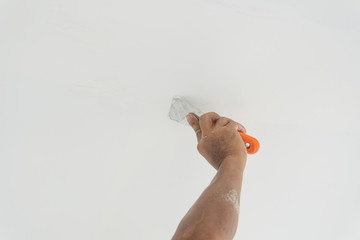
Drywall can be a bit of a waiting game, you want it to fully dry before attempting to sand. It should be white when dried. You can use a sponge and a bucket of water to do a technique called ‘wet sanding’ which can make less mess but is more complicated and requires significant more finesse. Dry sanding just requires sanding screens, possibly a pole sander if you have to reach far or want to invest a little more in some extra leverage. You want to sand the mud until it is smooth, and you’re ready for paint! If, after sanding, there are still some poor looking spots, just re apply more mud in those areas and sand when it’s dry. When the mud is all dried up, paint!
If you are looking for a contractor to perform house repairs like this one then get in touch with us today!
